Product Tutorial Videos
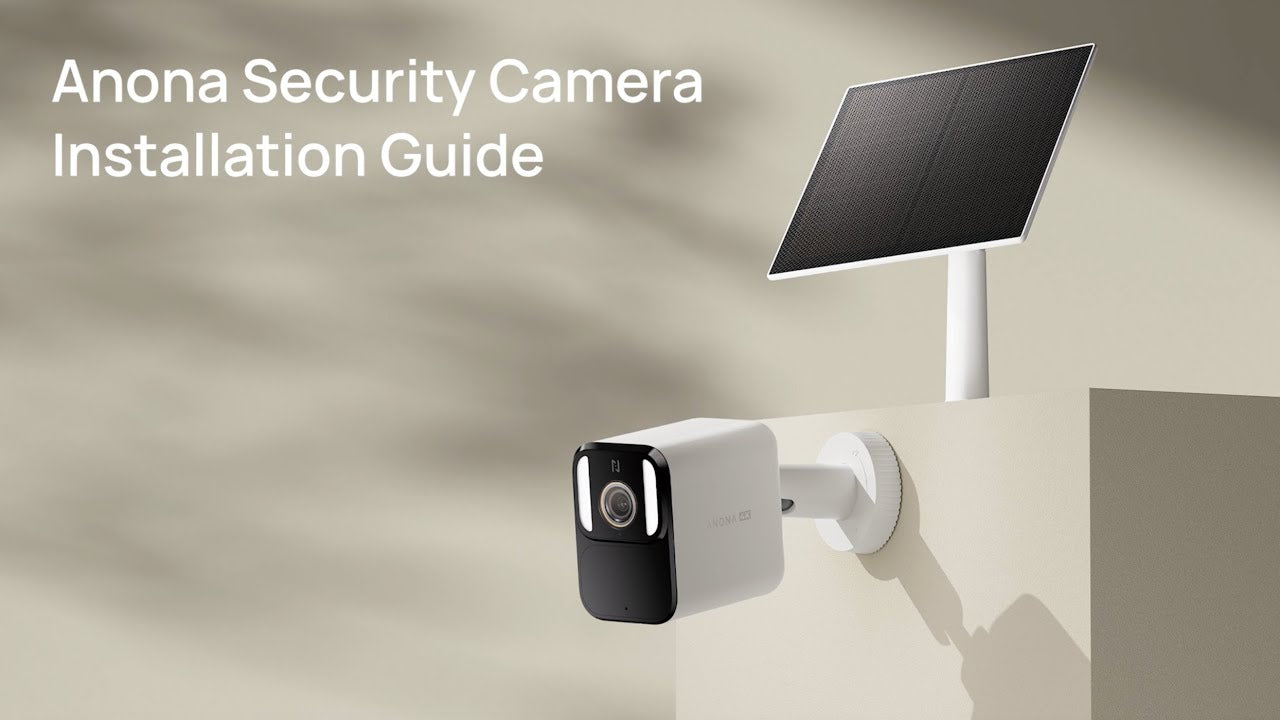
Installation Guide
Liberatingly simple wire-free installation
APP Connection
Connecting to Anona Security APP
Alexa Binding
Link to Alexa Account
Google Home Binding
Link to Google Home Account
FAQ-Installation
What are the installation steps for the camera?
① Rotate counterclockwise to disassemble the camera bracket.
② Drill holes based on the mounting sticker, insert the wall anchors, and fix the base to the wall with screws.
③ Fix the locking cap onto the base.
④ Hold the camera by hand and screw it to the bracket.
⑤ Loosen the locking cap, hold the camera by hand and adjust the angle. After adjustment, tighten the locking cap.
For more specific steps, please refer to the user manual above.
Note: Please install the camera with its power port facing downwards. When the power port is not used, please cover it with the protective cover to prevent water ingress.
What are the installation steps for the solar panel?
① Select a suitable installation position where the solar panel gets the most sunlight throughout the year.
② Drill holes based on the mounting sticker, insert the wall anchors, and fix the bracket to the wall with screws.
③ Fix the solar panel to the bracket.
④ Loosen the adjustment knob on the bracket and adjust the angle of the solar panel to maximize the direct sunlight exposure.
⑤ After the adjustment, tighten the adjustment knob.
⑥ Completely insert the charging connector into the power port of the camera.
For more specific steps, please refer to the user manual above.
What is the power supply method?
Solar panel power supply:
- Connects to the Anona Solar Panel to continuously power the device through solar energy.
The camera's main body has a built-in battery that does not require continuous power. It can function normally once fully charged. Please use the charging cable included in the package for charging. When using a power adapter, only a qualified power adapter that meets safety standards (output of 5V-2A) should be used. Charging should be conducted in a well-ventilated indoor environment.
FAQ-Basic Functions
What is the waterproof capability of the Aurora & Lucio Cam?
The camera supports IP67 waterproofing, allowing it to be used outdoors once the rubber plug is securely in place to prevent water ingress. Please avoid using the product in excessively humid or submerged environments to ensure normal functionality.
How is the battery life of the Aurora & Lucio Cam? How long does it take to charge?
- When connected to the solar panel, with at least 2 hours of sufficient sunlight per day, the camera can achieve continuous, uninterrupted power.
- When using the built-in rechargeable battery (10,000mAh), the camera can achieve a battery life of up to 180 days. Note: The battery life of the device is influenced by the frequency of recordings. Under conditions where no more than 20 ten-second recordings are triggered per day, the device can achieve a long-lasting battery life of up to 180 days. This data was obtained from the Anona Artificial Intelligence Laboratory. However, the actual battery life may vary depending on specific usage conditions and the environment in which the device is used.
Is the solar panel waterproof while charging?
The solar panel is a precision electronic product with IP66 dustproof and waterproof sealing. To prevent malfunction, do not install the solar panel in extremely humid environments or locations where water may enter. Additionally, when using the solar panel with the camera, ensure that the Type-C plug is fully inserted into the camera's Type-C power port to prevent it from coming loose.
How to power on/off and perform a reset operation?
- In the powered-off state, press and hold the power button for 3 seconds to turn on the device.
- While the device is powered on, press the power button 5 times (or more) to turn it off.
- Press and hold for 5 seconds to reset the device.
- Press and hold for 12 seconds for a hard reboot.
How many storage options are available for recording videos on the Aurora & Lucio Cam?
Aurora & Lucio Cam support two video storage options: local eMMC storage and cloud storage. Aurora Cam has 32GB of local eMMC storage, while Lucio Cam has 8GB of local eMMC storage. To use the cloud storage feature, you need to subscribe to the cloud storage service on the Anona website.
How to use the night vision feature of the Aurora & Lucio Cam?
The Aurora supports full-color night vision, starlight night vision, and infrared night vision.
The default setting is starlight night vision. When night vision mode is enabled, the camera automatically switches to night vision based on the surrounding light conditions, capturing footage in low-light environments. The Aurora features 10 spotlights for enhanced nighttime illumination and clearer footage.
- When full-color night vision mode is activated, the white light turns on at night, capturing footage in full color.
- In starlight night vision mode, the camera uses its light sensitivity to capture full-color footage at night.
- When infrared night vision mode is enabled, the infrared light turns on at night, capturing black-and-white footage.
Night vision mode setup process: Anona App -> Select "Video and Audio" -> Night Vision Settings -> Night Vision Mode -> Choose the desired night vision mode according to your needs.
Does it support two-way audio calls?
Yes, both the Lucio and the Aurora have built-in microphones, enabling two-way communication between the phone and the camera.
What is the AOV (Always On Video) feature of the Aurora Security Cam?
Anona AOV (Always On Video) mode uses innovative low-power technology to enable continuous 24/7 recording while ensuring the camera operates for extended periods. In AOV mode, the camera captures images at preset intervals to create a continuous time-lapse video, showcasing changes in the environment. When significant human movement is detected, the camera switches to recording regular video, ensuring that you don’t miss important details.
How to check the charging status of the solar panel?
Anona App -> Battery Management -> View solar charging status and switch to power-saving mode.
What should I do when Holo reports inaccurate door status?
Holo has built-in sensors to detect the door's position. The sensor will accumulate errors leading to inaccurate detection if the lock has been work for a long time. Please recalibrate the lock when the door state is wrong.
Do Anona Holo and Keypad support low-battery alert?
Yes, Anonda Holo and Keypad support low-battery alert. When the battery level falls below 20% or 10%, a low battery alert will be pushed via App.
How long can the Holo Smart Lock last after a low battery alert?
When the battery level falls below 20%, the device can generally last 5-10 days; when it falls below 10%, it can last 3-5 days. The specific battery life depends greatly on the frequency and scenario of user usage.
FAQ-APP
How to rebind and use the device?
If you need to change the camera's network or the app account bound to the camera, you must press and hold the camera button to restore the camera to factory settings. Then, follow the steps to add the device and rebind it.
Does it support the Bluetooth gateway function?
No.
Does it support NAS (Network Attached Storage) backup functionality?
No, it does not support NAS backup functionality.
How do I bind the device to the Anona App?
- Open the Anona App -> Tap the “+” in the upper right corner -> Select "Add Device" to search for nearby devices available for binding. Follow the on-screen instructions to connect the device, configure the network, and complete the binding process.
- The device will be in a binding state, indicating "Waiting for connection" with a spoken voice prompt after a reset.
Note: The WiFi connection supports 2.4GHz networks but does not support 5GHz networks. Due to app updates and upgrades, the actual process may vary slightly from the description. Please follow the instructions provided in the app.
What features are available on the device card homepage in the Anona App?
In the Anona App, you can swipe left or right to switch between device cards. The features on the device card homepage are as follows:
- Two-Way Talk: Tap to initiate or terminate two-way communication.
- Start Live Streaming: Tap to start live streaming, which will display the live streaming status and related features. See the example below for details.
What settings are available for the camera?
After binding the camera to the app, you can configure settings related to storage, power management, video and audio, and smart detection. You can also share the device with other family members through the app.
How to adjust detection settings?
When the device is online, you can turn detection settings on or off. You can also configure the detection time, detection type, sensitivity, notification type, and detection interval.
- Detection Types include: human detection, human stay detection, vehicle detection, pet detection, package detection, and other motion detection.
- Detection Sensitivity options are: high, medium, and low. High sensitivity corresponds to a detection range of 10 meters, while medium and low sensitivity correspond to ranges of 7 meters and 4 meters, respectively.
- Scheduled Detection Time: Specifies the period during which the camera will perform detection.
How to view local videos and manage storage?
When the device is online, you can view local videos and manage storage as follows:
- Go to Device -> Storage Management to view local event video files and AOV files. You can also filter the files by date, device, and event type.
- On the video playback screen, tap the “...” in the upper right corner to download, share, or delete videos.
- Tap the local storage status card to access the local storage settings page, where you can choose to format the storage card.
How to adjust video and audio settings?
Video settings include:
- Advanced Video Settings: Distortion correction, time watermark, brand watermark, anti-flicker.
- Night Vision Mode:
Aurora supports Full Color, Starlight, and Black Light.
Lucio supports Full Color and Black Light.
- Recording Resolution:
Aurora supports 4K and 720P.
Lucio supports 2.5K and 720P.
- Recording Interval selection.
- AOV Mode Switch: When enabled, records video at the user-selected interval for AOV recording.
- Speaker Volume Settings: Available options are Low, Medium, and High. The default is High, with Low and Medium corresponding to 40% and 60% of the maximum volume, respectively.
How to perform a firmware upgrade?
In the app, go to Other Settings -> Firmware Upgrade to check for version updates and perform the upgrade. Alternatively, you can select the Silent Upgrade option to automatically update to new versions at a specified time. During a silent upgrade, the device will not provide any upgrade sound notifications.
How to purchase cloud storage?
You can purchase cloud storage through the Anona website. The availability date is yet to be determined.
Does it support HomeKit integration?
No, it does not support HomeKit integration.
What mobile operating systems are supported?
Supported mobile operating systems are Android 6.0 or iOS 10 and above. Lower versions may not function properly.
How to use Google or Alexa voice assistant functions with the camera?
In the Anona app, you can bind voice assistants by going to **Other Settings**. Follow this path: **Other Settings -> Third-party Access -> Select Voice Assistant Integration**.
Available Functions:
- Disconnect: Disconnect the device from Google Home or Amazon Alexa.
- Control Device: Use voice commands to control the device. For example:
- View Live Stream: Use the Google Home app’s “Smart Home” menu or Google voice control to find new smart devices. Once found, you can use the following voice commands to view the live stream from the camera:
Troubleshooting
What should I do if there is no sound or noise while viewing live footage on the camera?
- The Anona app defaults to having the live video volume off. You can turn it on in the video window of the Anona app; if the volume is low, increase your phone’s volume.
- Check if the camera’s microphone is blocked.
- If there is noise, try moving your phone away from the camera and avoid placing the camera near electronic devices like refrigerators or microwaves.
What should I do if the video is stuttering or the video and audio are out of sync?
- If the video is stuttering or frequently loading, switch the video quality to automatic or smooth mode.
- If the video and audio are out of sync, check the camera’s network connection. If there’s significant delay, try exiting and re-entering the video.
What should I do if there is no sound on the camera during a call?
- Check if the volume on your phone is too low.
- Ensure the Anona app has permission to access the phone’s microphone. If not, enable this permission in your phone’s settings.
What should I do if the camera’s orange light is always on and it’s not functioning properly?
- If the orange light is on while connecting to the app, the camera may not be connecting to the network or binding to the account. Check if your account password is correct and if the network meets the camera’s requirements.
- If the camera was previously connected to the app and the orange light suddenly comes on, check the network connection. If it still doesn’t work, reset the device and reconnect it to the network.
What should I do if the camera’s night vision footage is blurry or there is no footage?
- Ensure the camera lens is clean and free of dust.
- Check if the lens is obstructed or within an area where it cannot capture footage. If so, move the lens out of the obstructed area.
What should I do if the camera cannot recognize the eMMC storage?
- Restart the device.
- Check if the camera’s firmware and the Anona app need updates.
- Clear the data of the Anona app.
- Format the local storage.
What should I do if pressing the power button on the camera does not work?
This issue may occur if the battery is depleted. Charge the camera first, then try turning it on again.
Why can't my camera connect to the Anona app?
- Check if your Anona app version is up to date: Android version 6.5.701 or higher, or iOS version 6.5.202.1 or higher (if not, uninstall and reinstall the app).
- Ensure the Anona app has the necessary permissions, including location and Bluetooth.
- After powering on the camera, wait 4-5 seconds for the indicator light to flash yellow before proceeding.
- Connect via WiFi: ensure your phone is connected to a 2.4GHz network only (read the app’s instructions carefully).
- Try reconfiguring the camera’s network settings by holding the power button for more than 5 seconds. After hearing "Reset successful," follow the app's binding process.
Do I need to unbind the camera if I change the app account?
Yes, you need to:
- Unbind the camera from the Anona app by long-pressing the device card on the home page and selecting "Delete," or go to the device settings and choose "Delete Device."
- Perform a factory reset by holding the camera’s button for 5 seconds.
Why is the camera’s human detection not working well or not recording people?
This could be due to low sensitivity settings. Adjust the detection sensitivity in the Anona app:
- High sensitivity: approximately 10 meters
- Medium sensitivity: approximately 7 meters
- Low sensitivity: approximately 4 meters
The camera also records alert videos with intervals to reduce push notifications frequency. You can adjust detection intervals in the app settings.
Why is night vision unclear or has a halo effect?
The camera automatically switches between day and night vision modes based on ambient light. Installation location can affect video quality. Avoid placing the camera near reflective surfaces or in well-lit areas at night. Install the camera away from walls or reflective objects, ideally suspended with no obstructions within 40 cm.
Can I use double-sided tape to mount the camera if drilling is inconvenient?
It is recommended to use expansion screws for mounting. Double-sided tape may not provide long-term stability and is not recommended for outdoor use to avoid potential falls and damage.
What should I do if the camera’s standby time is short?
- The camera has a 10,000mAh rechargeable battery with typical usage providing up to 180 days of operation.
- Shorter standby time could be due to using full-color night vision, frequent triggering of events, or frequent live video checks. Try switching night vision modes, adjusting sensitivity, and reducing video checks. Using a solar panel can also help extend battery life.
- When you receive a new device, bind it to the Anona app and fully charge it after updating the firmware.
- Frequent recording triggers in indoor or high-traffic areas will significantly reduce battery life.
- Outdoor cameras require about 3 hours for a full charge and can be powered with external devices like power adapters or power banks.
- Low temperatures or using the camera during charging can affect standby time. Avoid using real-time preview features while charging to preserve battery life.
What should I do if the Anona app shows “Camera device offline” or “Camera failed to start”?
Click “Offline Help” for quick troubleshooting.
- Check if the device is powered or if the battery is low. Charge using the original power adapter.
- Restart the router connected to the camera.
- Check the camera’s indicator light status:
- Try moving the device closer to the router to reduce obstacles and improve signal strength (RSSI value should ideally be greater than -50; recent RSSI value: -72).
- If none of the above solutions work, remove the camera and try reconnecting it.
Still Need Help?
We're here to assist you whenever you need us.


